Hey, What’s up, Geeks !! I had already shown you several ways to run Windows 7 on Android Phone whether using Limbo Emulator or Bosch or Cloud Computer but I had never shown you how to run it using a simple terminal app i.e Termux by using Qemu in it. Although I had already made several videos on running different operating system on Termux like Kali Linux or Ubuntu this time we are going to see how easily we can run Windows Operating System on Android Phone just by running few commands on Termux and if you will like this post I will also show you how to run the Windows 8.1 and Windows 10 on Android using Termux only in an upcoming post so just comment down below if you are interested. This method is quite interesting as this will make you understand how powerful a Linux terminal can be so without wasting any more time let’s start this tutorial.

Below you will find all the download links so Download all the file and copy it to your smartphone’s Internal or External Storage.
Download Links:
GeekyDrive App Download Link:https://play.google.com/store/apps/details?id=com.babisun.geekydrive
Windows 7 Download Link:https://shrinke.me/8rcBnp
Termux Download Link:https://play.google.com/store/apps/details?id=com.termux&hl=en_IN
VNC Viewer Download Link:https://play.google.com/store/apps/details?id=com.realvnc.viewer.android&hl=en_IN
Video Tutorial Link: https://www.youtube.com/watch?v=0ADInAgyH2E&t=2s
After download and installing the Limbo Emulator App follow all the steps given below.
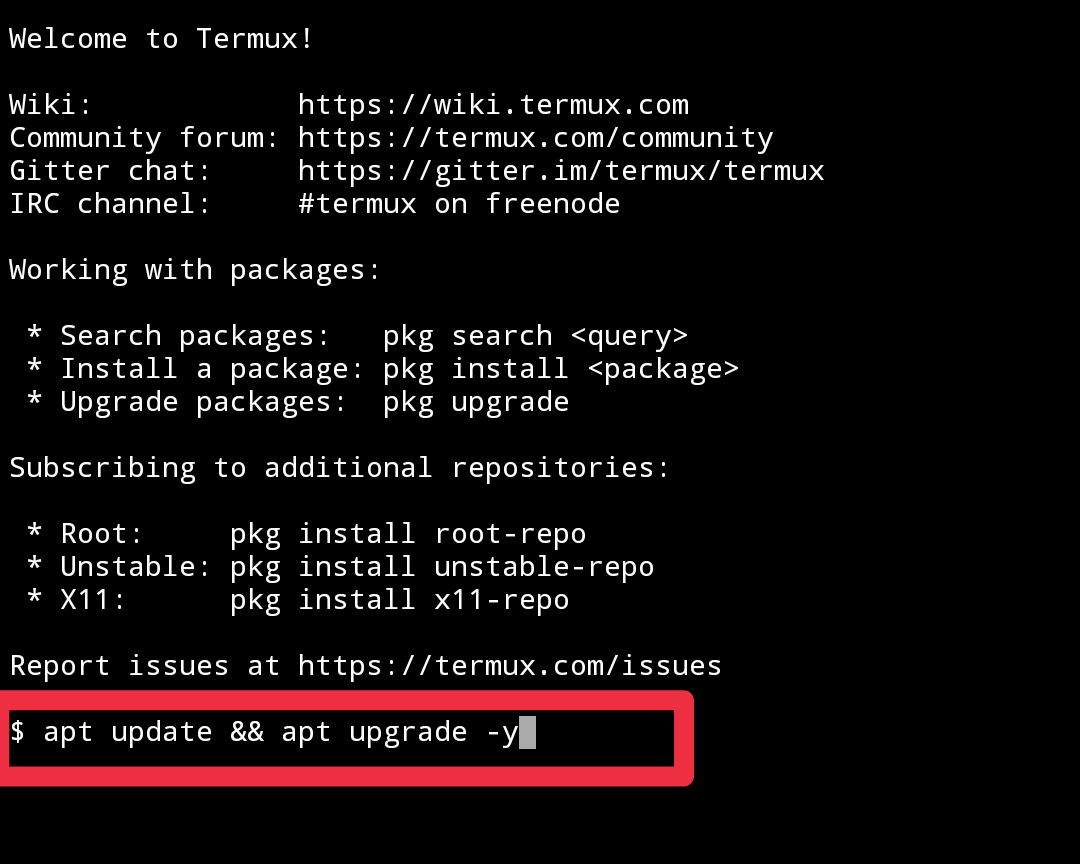
Step 1) First open Termux app and type “apt update && apt upgrade –y” and press enter.
2) Now install the required Qemu package for this type “pkg install qemu-system-i386-headless
–y” and press enter.

3) Now we need to give the storage access to the termux for this type “termux-setup-storage” and press enter.

4) Now download the given Windows 7 file from the link given above.
5) Now remember the location of downloaded Windows 7 file on your Android Phone and
start the connection by typing “qemu-system-i386 -hda /storage/emulated/0/Download/Windows_7.qcow2 -vnc 127.0.0.1:1”

5) Now go in VNC Viewer and add new connection type address
“127.0.0.1:1” give the name the to machine like “Windows 7” and click on create
and then on connect. After connection enjoys the system.

Now You have Windows 7 running on Your Android Phone. Cool…!!!
So if you have any questions regarding this post and any Suggestion for the Next Post You can Comment Down Below…
See You all Guys in the Next Post…Take Care.. 🙂
I have problem on this step:
pkg install qemu-system-i386-headless–y
I press "Y" and enter. But it said "Abort" Why?
We can play games
How can I connect the vm with the internet or to the storage of my phone? How can I get rid of the delay between my mouse and the shown mouse of the vm?
When i type my address that is location of the file it shows Internal: invalid option
my file location is
/Internal storage/Download/Received/Win10CDv2/Win10XPE_x86.ISO
What should i do continue the procedure
lag
Storage and internet by you phone
Bruh you use file manage
Says permission denied, i spent an hour on this, sincerely, fuck you.